Your cart
There are no more items in your cart


In Stock
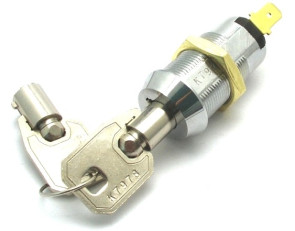
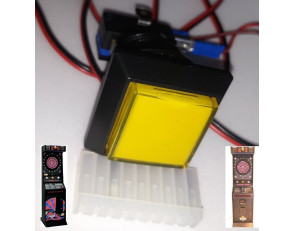
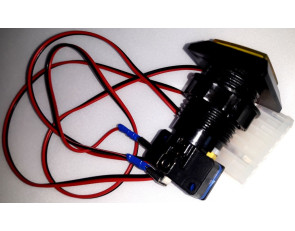
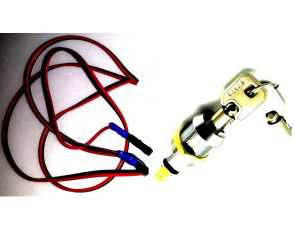
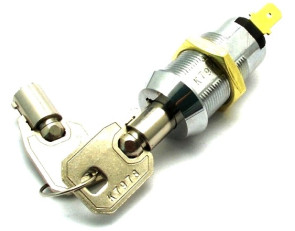
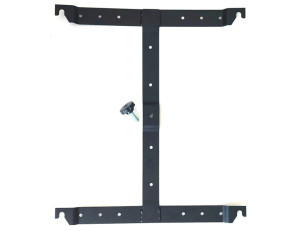
Round cylinder lock. DOOR - Lock suitable for the disc dart DOOR and intended for the FREE credit option. With 2 keys Length 34.0mm FREE Credite Key (electric lock for FREE credits) .


